Showing posts with label sTyliNg. Show all posts

Friday, October 17, 2014

LOOKBOOK: KITCHEN NOOK

     It's me ! Hey friends, so sorry to have been away. Between my day job and plain old life, I got sidetracked from the thing that brings me such joy ... eating pomegranates ! I meant *cough cough* ... BLOGGING ! But I'm back! And I've got another lookbook post for you all. If you didn't catch my first lookbook on my wishlist items for our master bedroom, check it out here.

     I think we have a good sized kitchen in our modest townhome and apart from the actual area housing our cabinets, stove, etc there is a small nook. This is the current state of our kitchen nook.


     You're not judging, right ??????
 
     Yes, it is a den of clutter. All of those little things and papers that seem to have no home end up on our kitchen table. Or our kitchen island, but I will save you the "pearl clutching" by not showing you that picture. You're welcome.

     Back to the nook. Besides purchasing a proper coat closet rack and/or a shelving system to rid the area of all those coats, I'd like to revamp the space altogether. I'd like for it to be a nice, bright nook that can double as a bit of an office ... with some motivational pieces. I know, sounds like a lot of stuff in one spot. But hear me out.

     I'd like to replace the bar height table with a wooden table that sits at regular height. I would prefer a natural wood table that I could paint red or white.

 
                    I love the details on this table and it clearly fits into my red color category. 

 
I really like that this table looks a bit old and worn. I also adore the bench seating since the benches can be pushed under the table for more space in the room. Because one side of the table would be closest to the wall in the nook, I would line the bench with throw pillows.  My husband HATES this look but I'm hoping his taste in decor will change as he too becomes older ... and more worn ( kidding babe ! ) :-)
 
Next up, I'd like to feature a small "wall of motivation". They say the kitchen is the heart of the home so why not have that heart speak directly to you and each day. In case you're not following my idea, here are some visual aids.


This wall is definitely a bit more bare boned than what I'd like to go for but it's just an idea of the feel good kind of stuff that I want to greet me every morning.


This multi-colored wall is something I would lean more towards but with a little less uniformity. I'm more of an abstract kind of girl ;-).
 
And last but not least - THROW PILLOWS ! Throw pillows are like the bright spot on a dark day for me. They're relatively inexpensive, easily interchangeable and you can never have too many. New throw pillows are also one of the easiest ways to update a space and achieve an almost entirely new look. So here are my picks.
 

I love the idea of grays and blues or greens together. Our kitchen has a few seafoam green accents already so it would probably be best for me to stick with that color scape.
 
 
It's no secret that I ADORE a good chevron pattern ... on just about anything. So of course this popped up on my radar. My only reservation would be that I have a chevron patterned rug in the kitchen and I don't want an overkill situation going on.


This beauty is the perfect shade of seafoam green and matches a patterned rug that's in our living room - adjacent to the kitchen. I like the idea of pattern matching from room to room when not actually color matching.


     I like the Ikat print on the middle throw pillow in this set but it also works within the idea of color matching different prints.
 
     Hopefully this vision of mine will just appear in my house ... this afternoon. But in case it doesn't quite work out that way, I'll be sure to take you guys with me every step of the way.
 
xoxo,
 
tanesia nerese'
    

Monday, December 30, 2013

CHRISTMAS DECOR - PART 2

     I trust that you all had an amazing Christmas Day filled with lots of love, happiness and joy ... and presents ... and food. Lots of food. Though it would appear that this post is a few days late - being that Christmas Day has come and gone - it is actually right on time! I didn't want to force my way into your homes via your PCs, tablets and cell phones on a day meant for putting all of those electronics aside ( or opening them up in beautifully wrapped packaging ).

     Of course I'm probably giving myself too much credit anyway b/c who actually would have been reading my fabulous, amazing, SUPER entertaining, very well written blog on Christmas Day anyway, right ? :-) No seriously, I want to know who would have been reading in case I do need to post for future Christmas'. Raise your hands ! OK, never mind ...

     Anyhoo, for anyone interested here are a few snippets of our awesome Christmas morning and subsequent day:


     But my favorite moment of all from this year's Christmas activities was making breakfast with my little fireball. And yes, it was as yummalicious as it looked, despite her very un-enthused facial expression in that bottom right picture :


     Alrighty! Now that we've gotten all my family's Christmas morning fun out of the way, we can shift the focus back where it belongs - on the rest of the holiday decor. As I said in my previous Christmas Decor  post, I wanted to do a little more this year than I had the past 2 years (since we have lived in our current home ). Avery is only getting older and holiday decor is so much fun, so why not "do it up" a little. There is still MUCH more that I would love to do in the future, and I anticipate adding a little something new and special each year. But for now, here's what I was working with:
 
 
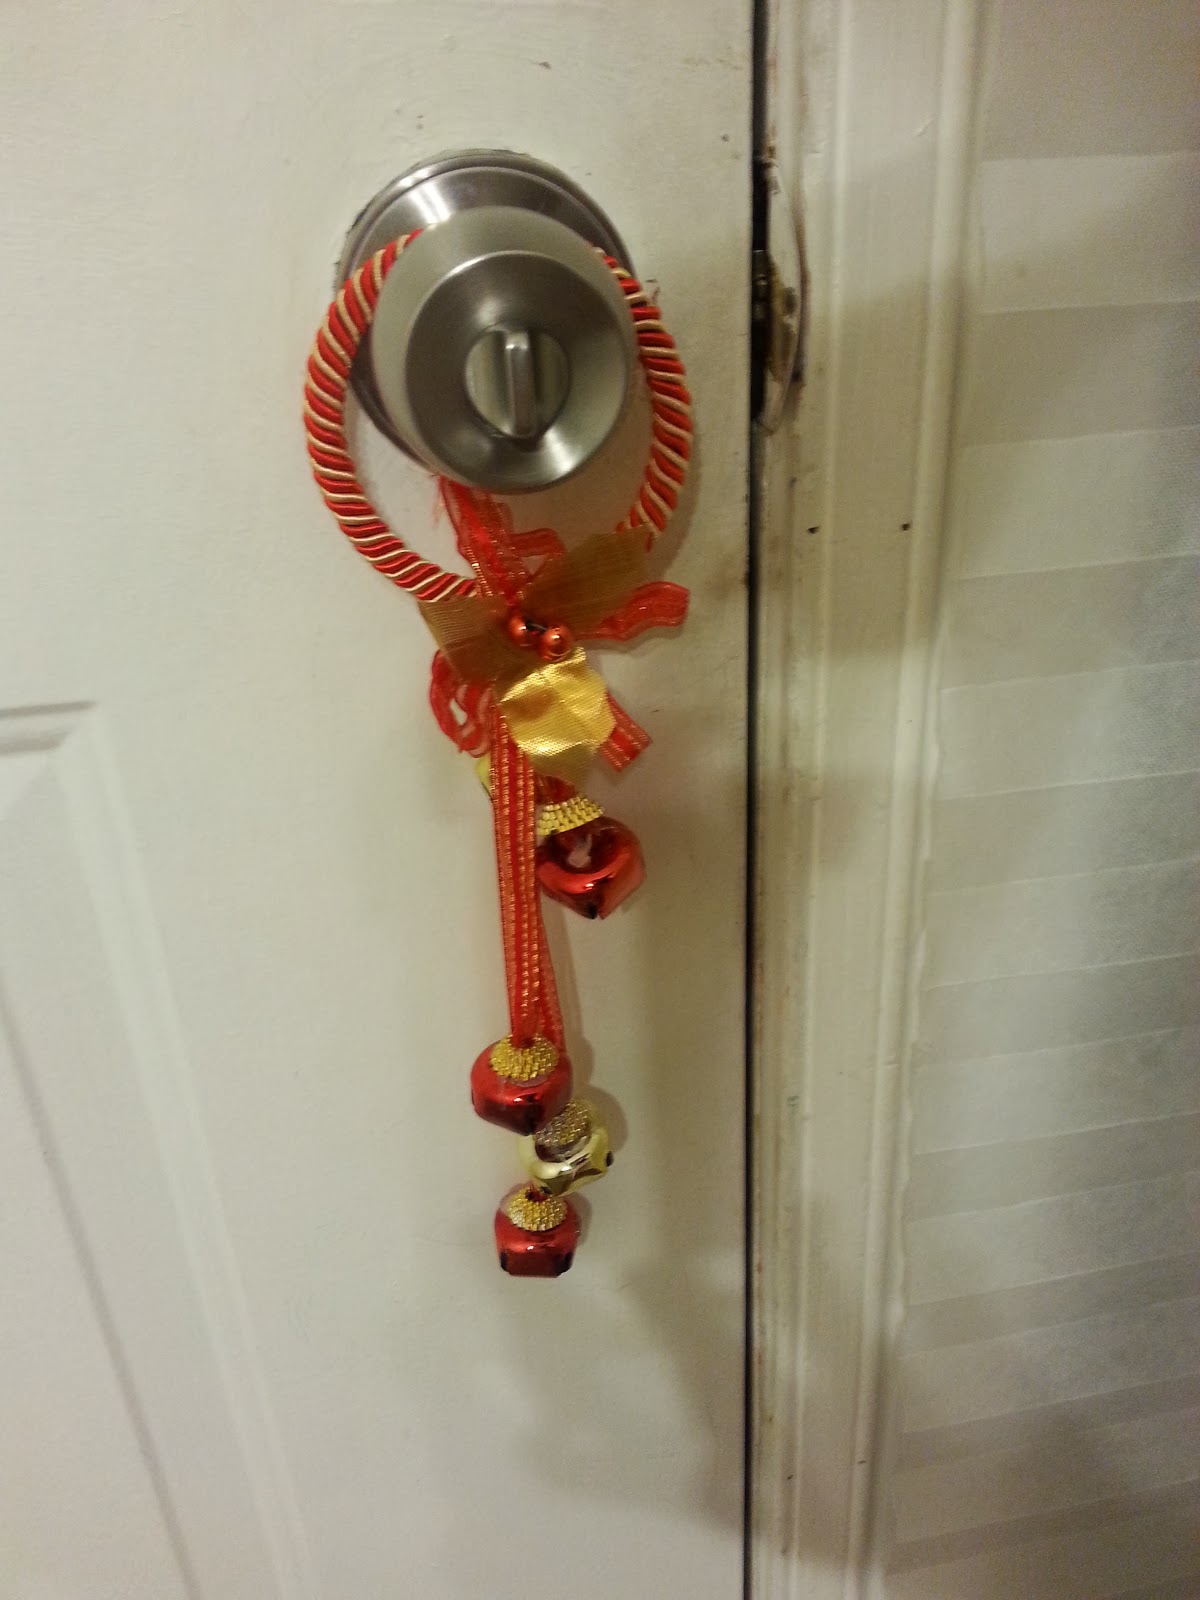
     This little doorknob hanger only cost me a dollar at ... you guessed it! THE DOLLAR STORE ! I thought it was simple but cute and a fun holiday feel was more the decor type I was going for year.

 
     This little guy was one that I picked up for $10 at Marshalls. And he goes right along with the other two that are this same make that I purchased from Home Goods for no more than $20. I really enjoy the vintage yet whimsical feel of these cute little stuffed animals.

 
     The gold hurricane and small pebbled Christmas tree were purchased at Target. The hurricane was about $19 - a little more pricey than I'd hoped but I wanted it nonetheless - and the tree was $10. They look gorgeous when they're all lit up in our entry way at night. 


     Our stockings were hung by the chim .... ummmm .... by the picture window with care :-) They were from Target and they were a set that we had from last year's Christmas. I do not remember their price but I do recall them having been on sale and not too expensive. The candles are battery operated and also in my previous Christmas Decor post. At that time I was missing my greenery and stockings so I "hit you with it one more time" (in my Brittany Spears voice) !


     This is also another pic from my previous Christmas Decor blog but I posted it again as I'd added the smaller candle holders spelling the word J-O-Y.

 
     An aerial view *wink wink* of the decor on the dining room table.
 
 
This was post Christmas present opening later on in the night - hence the fully opened and on display gifts.
 
 
     A little closer view of some of our favorite ornaments and a golden tree topper. So there you have it friends, our Christmas Decor for 2013. I hope to do it up much more for 2014 so stay tuned !
 
xoxo,
      
tanesia nerese


Friday, December 13, 2013

DIY SUNBURST MIRRORS

     In case you haven't noticed, sunburst mirrors are kind of a "thing" now. And, I won't keep the truth from you any longer ... I'm kind of into the "thing" that they've become. If it makes things any better, my plan is to create my own DIY version of this mirror, but we know what happens to the best laid plans ... *whispering* they "oft go astray".

     Below is a typical sunburst mirror and although I like it, I'm not sure it's exactly what I'm looking for. Whatever type I make (???) , I want to use as wall decor in our master bedroom, and I feel like the typical gold look may clash with our other decor. But you never know, sometimes it's nice to throw a pretty little monkey wrench into things to shake them up !
     The look I really prefer is more so along these lines:


     I really think I most enjoy the larger mirror base with the white "sun rays". But let's be honest, if I DIY this bad boy, it just may stay that natural wood color. Anyhoo, below are a few of the blogs/websites that I have been looking to for inspiration on my own project. Enjoy !


4) Plastic Spoons Chrysanthemum Mirror  (not a sunburst mirror but too gorgeous not to feature)


     The sunburst mirrors listed above are just a few of the MANY different and creative ways to make  your very own. They're also the perfect way to beautify your home while staying within your budget. I have not totally committed to 1 design for my own mirror - I definitely haven't ruled out that chrysanthemum look either -but rest assured that you'll be the first to know when I do ! 
 
xoxo,
 
tanesia nerese

Thursday, December 12, 2013

LOOKBOOK: MASTER BEDROOM

     It's true. I like pretty things. I like to take pretty things, place them in not so pretty spaces and ultimately make those spaces pretty too. There are also those areas that aren't NOT ( yep, I hit you with a double negative ) pretty so much as they need a little tender, loving care. Well, the current area in our home that is in need of such care is our master bedroom. It's a box. A box with a bed.


      ... and a dresser.


     Ummm ... about that dresser. I know. It's a mess. But it should also be known that what you see here was the "after" shot taken once I'd tidied up a bit. I completely trust that after having read my un-ORGANIZED post, you know ( and LOVE!) me and accept that I am a bit messy by nature. Which is the main reason that I take such pride in my organizational projects - no matter how large or small they may be.

     With that being said, let's get back to my Plain Jane box of a bedroom. What I wanted was for this room to be a very neutral canvas where I could add splashes of color all around for interest. So far, I only have my neutral canvas but that brings me to one of the items of interest I would like to add above our headboard. CANVAS ART !

     Now canvas art can look like just about anything so long as the art resides on *drumroll please* ...... a canvas ! Here are some examples of the colors and styles that I have had my eye on to hang right above our bed.

 
     I'd decided - at least until I change my mind - that different shades of blue and green with pops of yellow is the color scheme I'd prefer.  With that in mind, I liked the color in the above canvas art although it could be too light a shade.


     If I were to go with this piece, I would definitely hang it horizontally to maximize the wall space above the bed. What I love most are the deeper shades of blue and turquoise - I think I could easily add accent pieces to the room to compliment them.


     This set is completely my favorite because it has every color you could ever want to accent a room with. You really can't go wrong ! I also like that it is 3 smaller pieces instead of 1. It gives the appearance of taking up more space on the wall which is what I want. You can't tell from the first picture but we have vaulted ceilings in our bedroom so I need canvas art that is large and in charge. 

     Next up is the "Throw Pillow" segment. I don't have too much to narrate here because I LOVE every one of these designs and colors. And being able to add accents like these below is the reason I wanted to anchor the room with a neutral pieces.


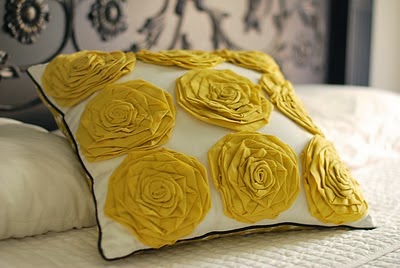
I adore the femininity that the yellow roses would add to
the space without being overwhelming -
being that I do share this room with a man.


     I'm not particularly married to the exact shades of blue, green and yellow that you see above but for now, they are what I have in mind. Below are possible side tables that I'd like to put in place of the glorified storage bins we're currently utilizing.


     While I really enjoy the romantic feel of the 2nd bedside table, I fear it may be too feminine for hubby. The first table seems a bit more gender neutral and has that vintage charm that I love so much. Sidebar: I can't get enough of little charming vintage pieces.

     So there you have it folks, my master bedroom ... at least how I see it when I close my eyes.
 
xoxo,
 
tanesia nerese 

Thursday, December 5, 2013

CHRISTMAS DECOR - PART 1

     I know, I know, this post is a little late being that most Christmas decor went up before even 1 turkey was stuffed. But, better late than never, right ? 

     I decided this year that I wanted to do a little more than I have in the past where decorating is concerned. We have lived in our home for about 2 1/2 years and while many things have been done, many things have also not been done. Christmas trimmings and trappings being 1 of those things. 

     The items below are just a few of the things that I picked up from my fav stores - Target, Home Goods and dare I say .... The Dollar Store *gasp*. You can find great, and obviously inexpensive, things at The Dollar Store so don't count it out.


     Some of what you see above are items that I have already set up around our home and some are still being arranged for placement. Confession: "still being arranged for placement" was my super together way of saying that I have a procrastination problem and just haven't gotten around to it yet :-/ . But have no fear, here's a little bit of what I have done thus far.


     I also have a set of candles that I plan to place in between the gold Christmas trees on the interior window ledge. Either that or I may replace the gold trees altogether with the candles and add some greenery as well. But of course, I'll keep you posted once I have everything in order. Cross your fingers for me that everything will be in order by this weekend. Til' next time !
 
xoxo,
 
tanesia nerese

Wednesday, November 27, 2013

WELCOME !

     So ... you've made it to "decoraTiNg Avery" :-) The first thing you should know is that I LOVE CHEVRON ! And yes , I was just yelling at you. I apologize but it's a must know around these parts. The 2nd thing to know is that I am mother to an awesome girl named Avery, whose namesake is this blog. She is a precocious 2 1/2 year old - which is mommy speak for "bouncing off the walls and getting into everything 24/7" . Nevertheless, she is ours and we're keeping her!
Avery watching Alvin and the Chipmunks
on MY iPad that she ever so slowly
pilfered for herself :-(


      So this here blog came about after much poking and prodding (and downright bullying) from my sisters to get my ideas and small creations out into the world. The greatest of those creations being the transformation of Avery's baby nursery into her current "big girl" room.

 
BEFORE: the dresser that the lamp is
sitting on was relatively new as it replaced
her barely used changing table.

BEFORE


      My husband and I painted, designed, slaved and decorated a set up altogether different from the room that previously housed a mahogany wood crib, changing table and glider. You know. Baby stuff. She NOW has furniture and a room design that can grow and change right along with her and thus "decoraTiNg avery" was born.

AFTER (oh yes! Sir Chevron has made an
appearance.)
 
AFTER: the dresser/storage unit that was laying
horizontal but is now vertical. I LOVE it in that corner.
 
AFTER


      I make no claims to be any type of expert/ professional at anything, other than being Avery's mom :-) With that said, what I AM is a lady that likes to decorate and I hope you come along with me on this journey filled with pretty things.

xoxo,

tanesia nerese